Getting Started with 3D Printing for Woodturning
Discover how modern 3D printing technology can revolutionize your woodturning workflow, from custom jigs to precision measurement tools.
Read Article
Exploring the intersection of traditional woodturning and modern 3D printing technology
Discover how modern 3D printing technology can revolutionize your woodturning workflow, from custom jigs to precision measurement tools.
A journey through the process
There’s something timeless about simple mechanical toys,
and the push puppet is one of my favourites. The way
they collapse with a press of the thumb and spring back
upright as if nothing happened has always seemed magical
to me.
To understand how they worked, I bought an old,
sacrificial one on eBay and carefully took it apart as I
could not find any relevant resources online. A couple
of things stood out right away. The string threading was
clever; it ran across the body and through the plunger
in a way that kept the figure stable while still
allowing it to flop about.

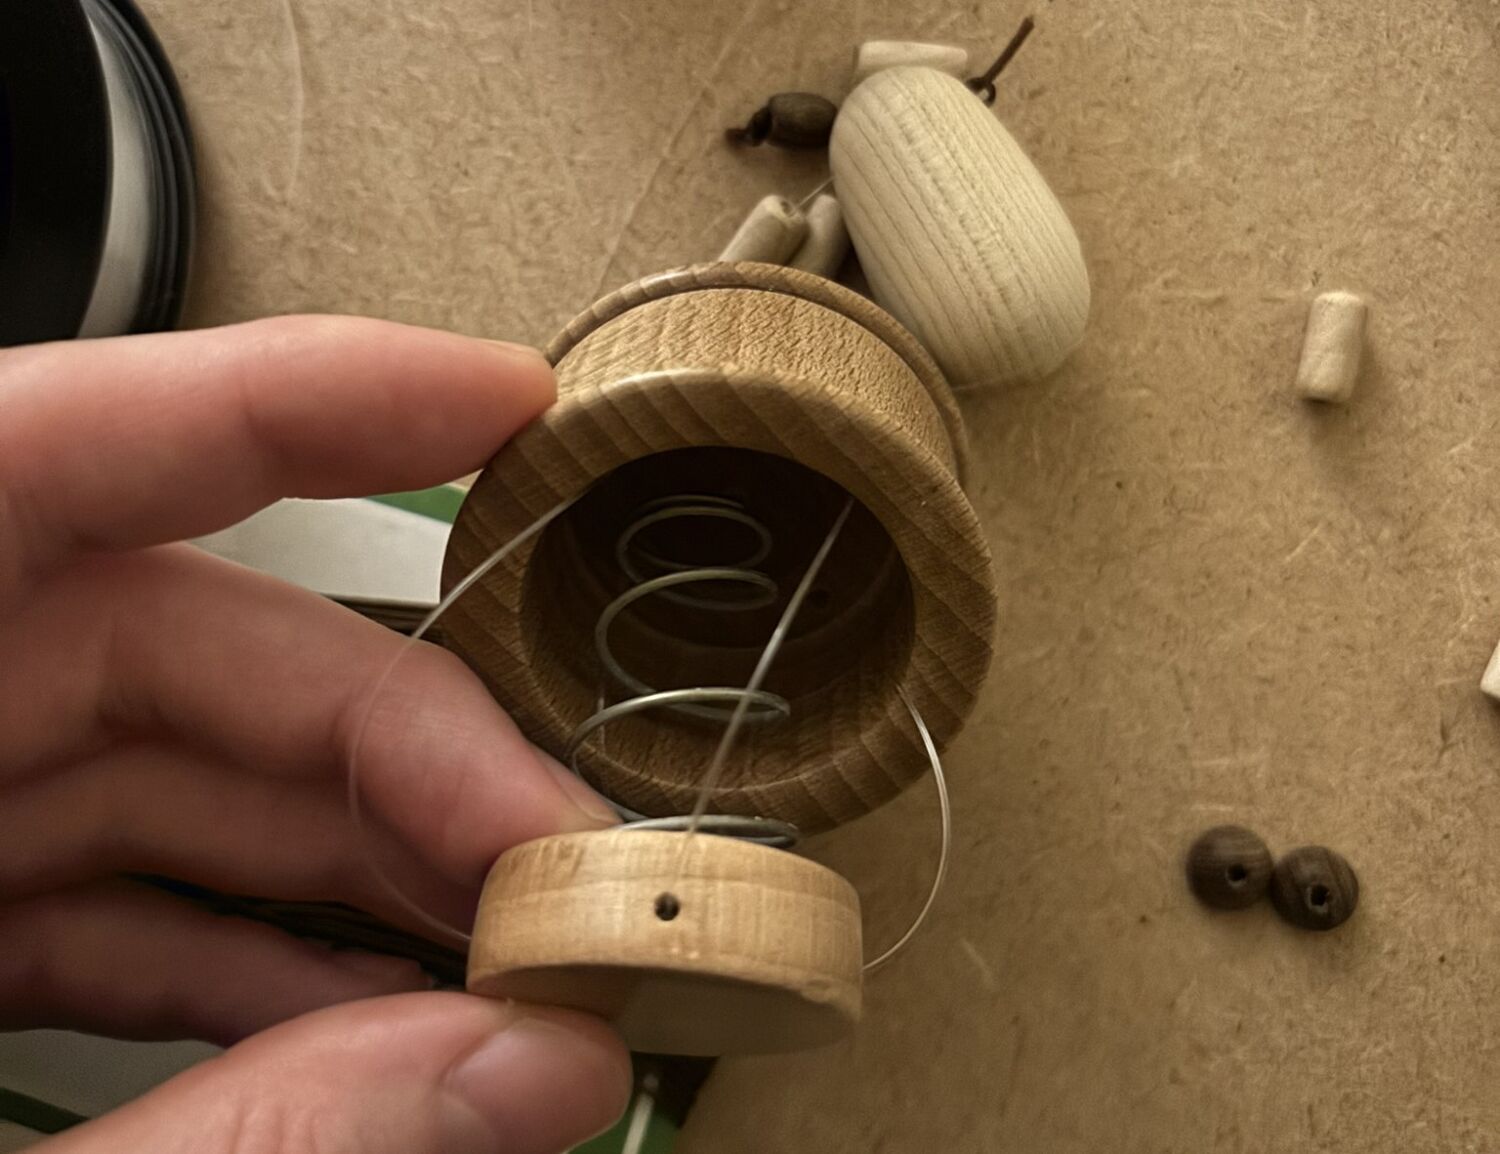
Moreover, inside the base, I found a conical spring
(dia. 15mm – 25mm, 40mm uncompressed) - an essential
piece that gave the puppet its bounce while keeping the
plunger centred thanks to a recess.
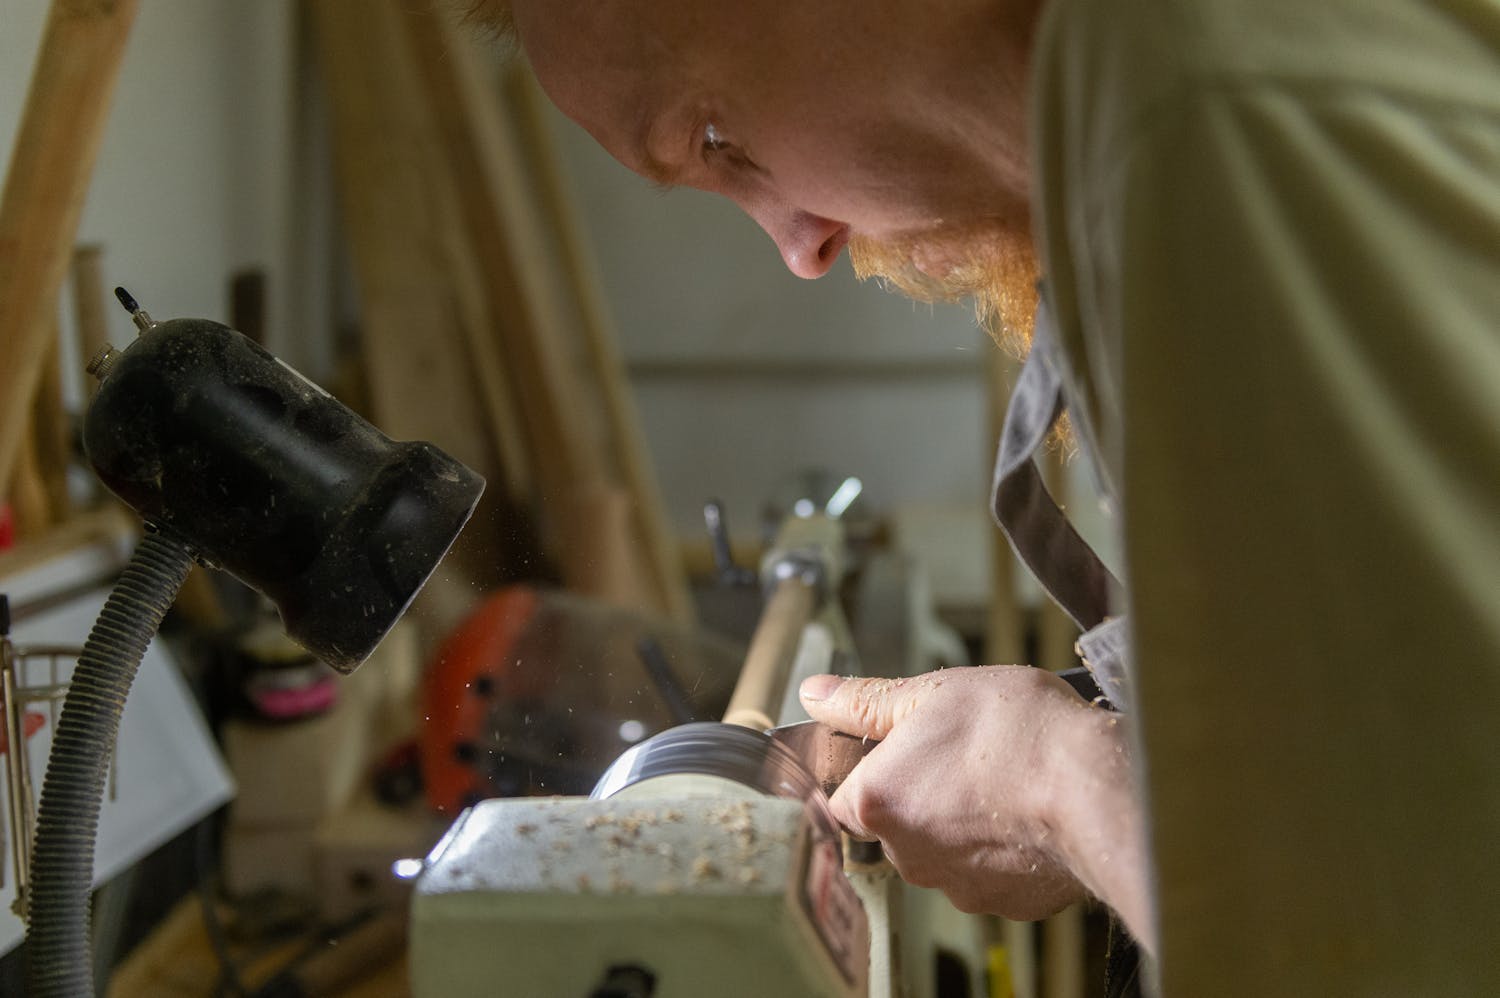
The parts themselves were relatively straightforward,
but the scale was challenging. Many of the components
measured only 6–8 mm across, which made handling and
replicating them tricky. After my chuck kissed my
knuckles for the last time, I decided to invest in some
Dome Jaws and get a Record Power SC2 mini chuck which I
would highly recommend for working with small parts.
The string threading starts at the tail and goes down
each hind leg and through the base, it is then threaded
through holes in the sides of the plunger which then
cross in the middle of the plunger, before exiting the
remaining two holes on the opposite sides. This means
the rear left leg is connected to the front right etc.
They then travel back up through the base, and up each
leg until the two strings meet after going through the
body and travel together up the remaining parts of the
neck. These are then tied off in a knot together on the
uppermost section of the neck, before that piece is
glued into a hole at the base of the head.
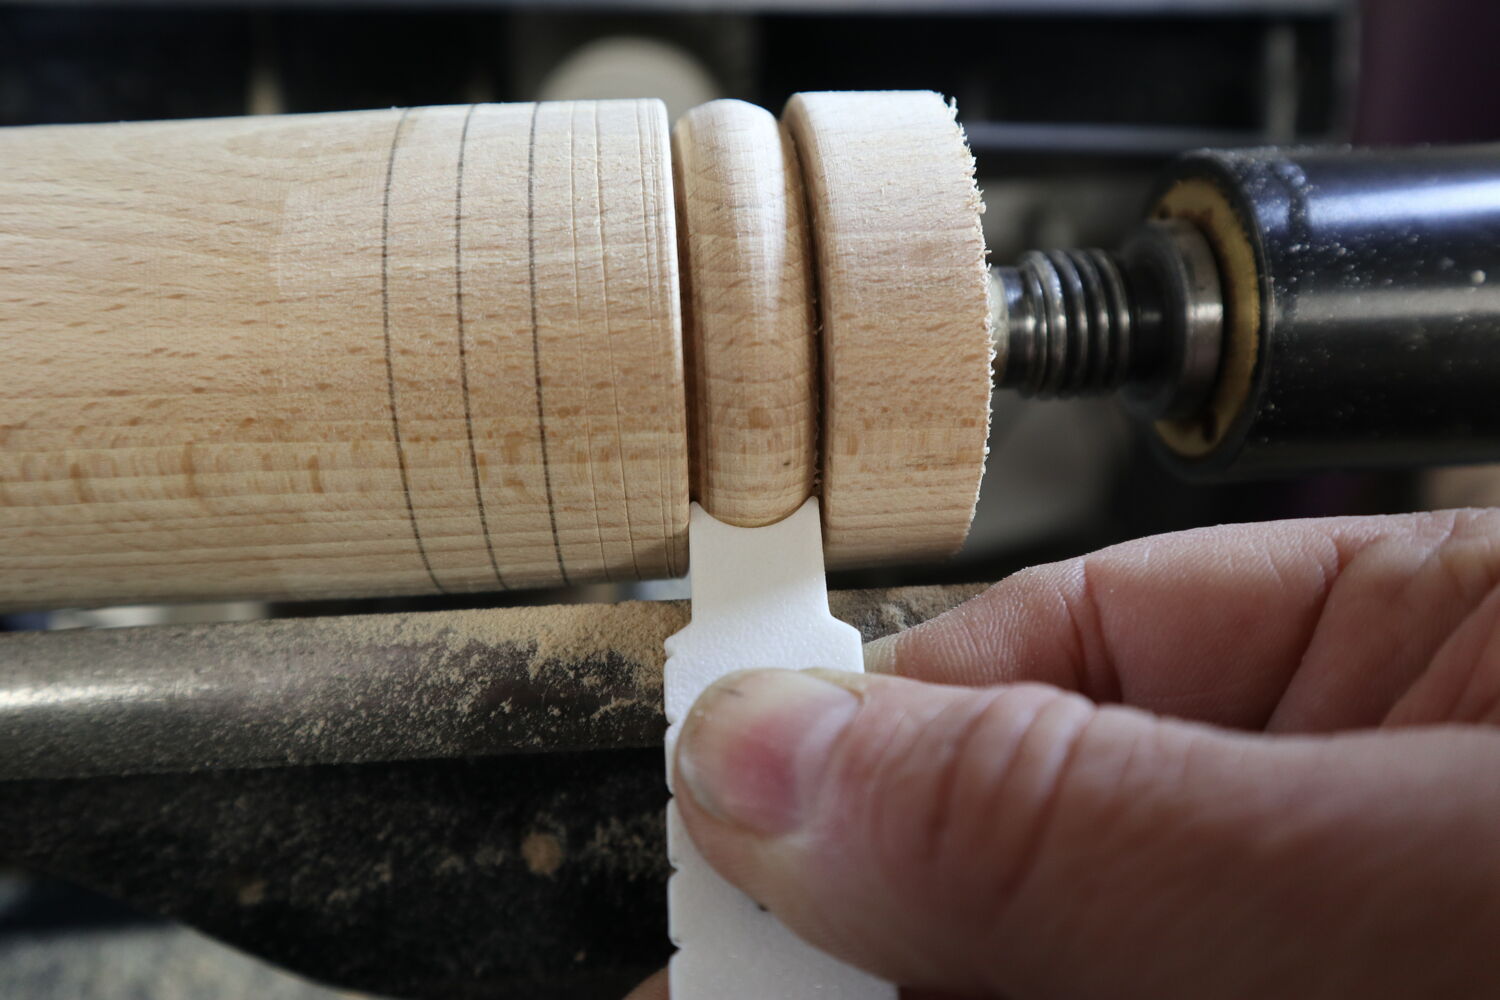
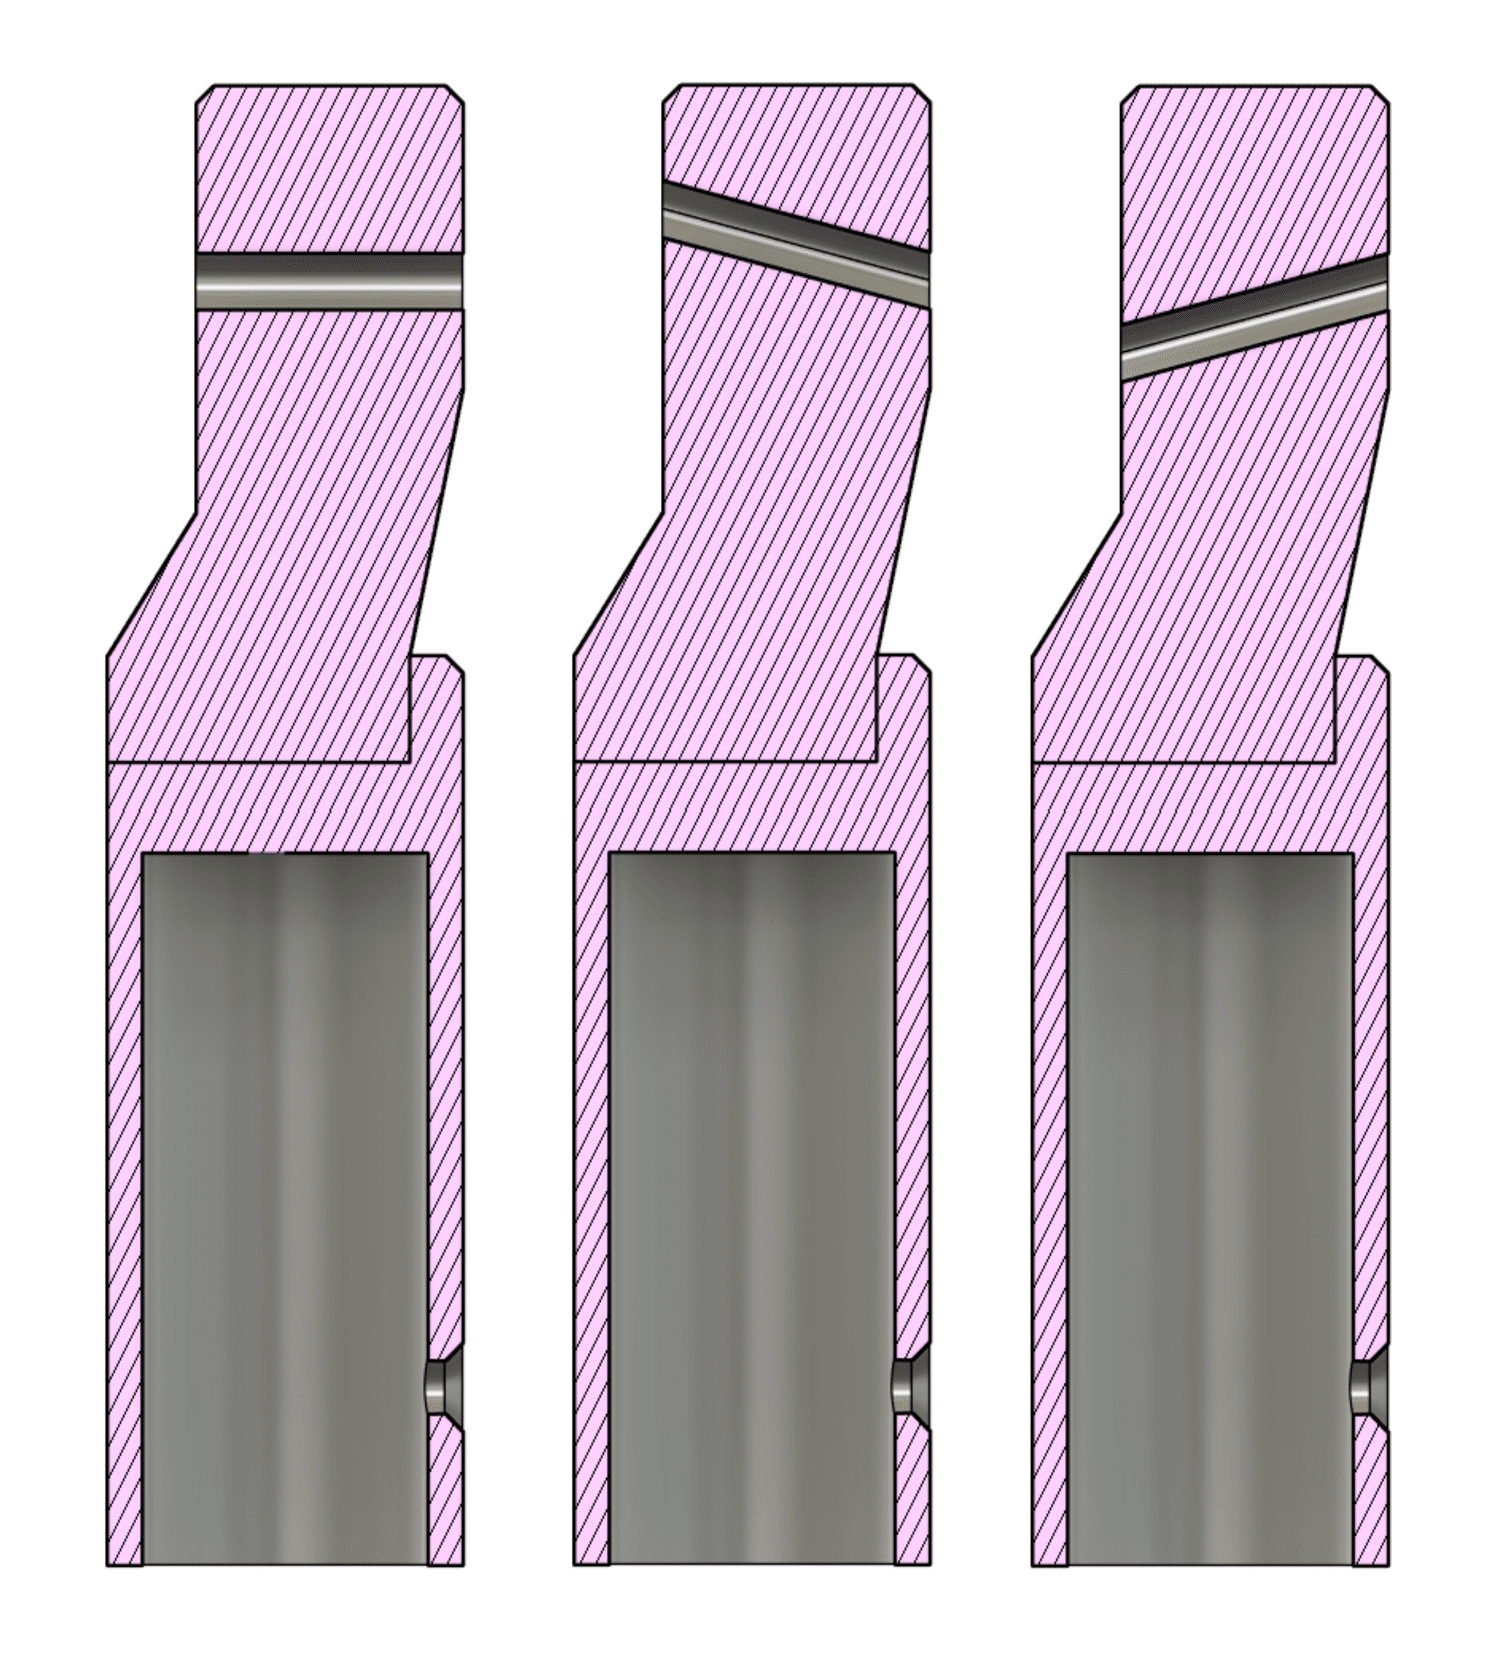
The hardest part was figuring out how to drill precise
holes in the body and head for the wires to thread
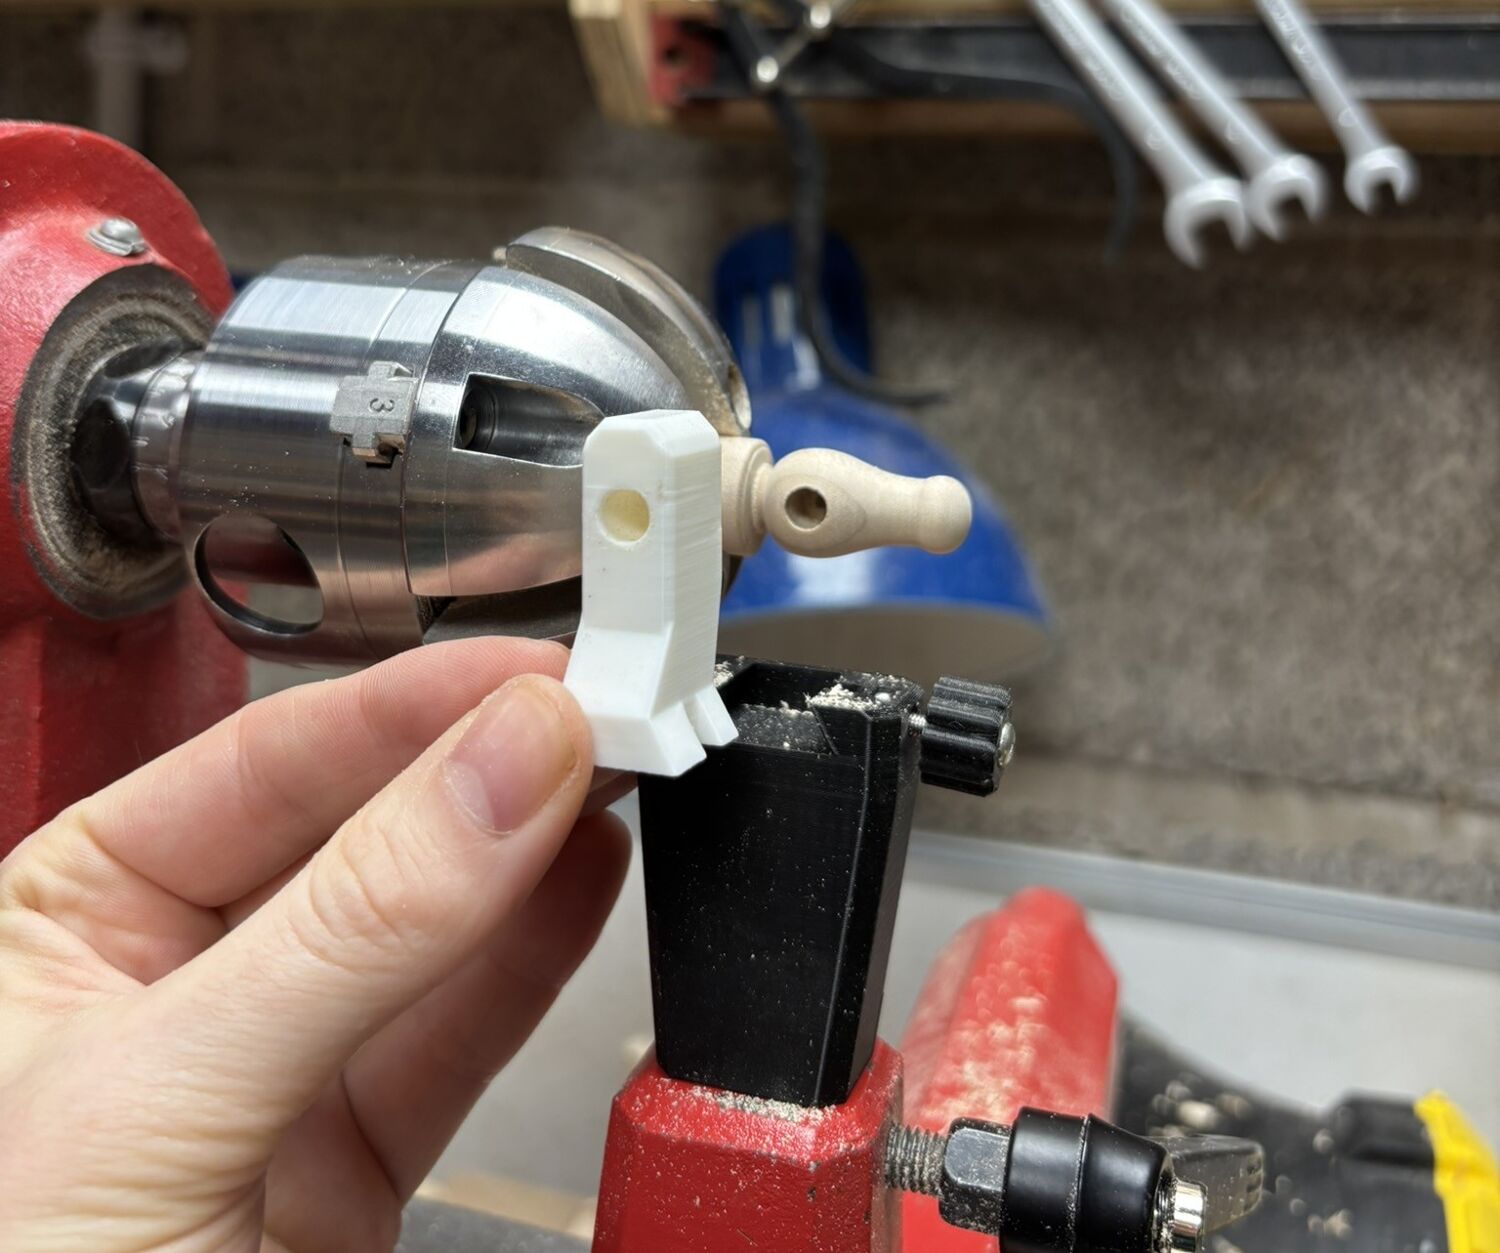
through. After a few attempts by hand, I designed an
interchangeable 3D printed guide system that acts as a
bushing to stabilise a cordless drill. The base takes a
dowel that fits in the tool rest hole on the banjo and
has a thumbscrew to swap out guide parts.
I could then create any guides I needed, ranging from
simply horizontal holes of varying diameters to holes
inclined at precise angles of pitch and yaw. More
importantly, I could ensure the entry point of the hole
was at the same point on the wood’s surface, so V-shaped
holes can be made using two guides of +- 15 degrees.
The loop from one back leg to the other can hold a piece of string act as the tail captive when it is pulled back into the tail hole. I used a clamp to compress the spring, so it was slightly recessed in order to achieve the correct tension when tying off the neck knot, which was fiddly business. I would advise doing the assembly over some sort of tray, because one false move sends all the pieces flying as the puppet tends to self-destruct.
In the end, the giraffe came together well, and I added a set of tiny antlers to complete the head. At 2mm at their narrowest point, they’re the smallest I’ve turned and it was a satisfying detail to finish off the project.
A beginner-friendly guide to understanding how 3D printing technology can enhance your woodturning practice with custom tools, jigs, and accessories.
Traditional woodturning relies on specialized tools and
jigs that
can be expensive or hard to find. 3D printing allows you
to create
custom solutions tailored to your specific needs, from
simple
tool holders to adaptors and complex measurement gauges.
Traditional woodturning relies on specialized tools and
jigs that can be expensive or hard to find. 3D printing
allows you to create custom solutions tailored to your
specific needs, from simple chuck key holders to complex
measurement gauges.
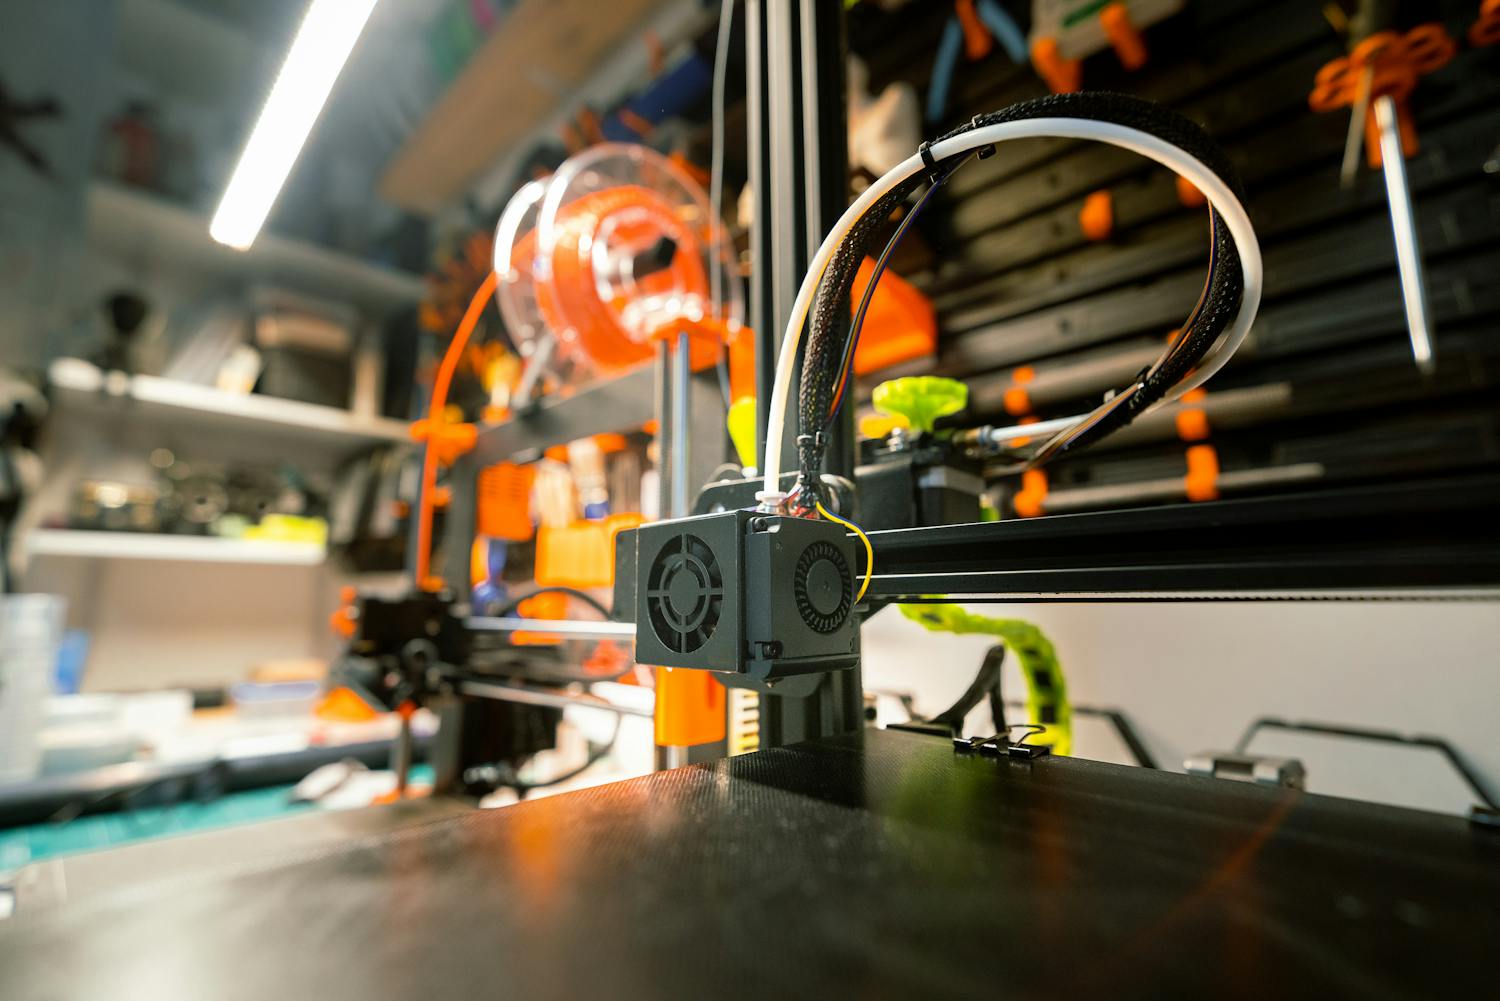
3D printing allows the creation of complex objects without wasting material as it is additive, rather than subtractive like typical machining. The most prevalent type is Fusion Deposition Modelling (FDM) which involves semi-molten plastic being squeezed through a nozzle and deposited like continuous toothpaste by computer controlled motors.
You don't need an expensive printer to begin.
Entry-level FDM
printers can produce durable PLA or PETG parts perfect
for jigs
and guides. Start with printing available designs online
for quick results before learning how to model objects
yourself.
You don't need an expensive printer to begin. Entry-level
FDM printers can produce durable PLA or PETG parts perfect
for jigs and guides. Start with simple designs like
caliper holders or tool rests before moving to more
complex projects.
The orientation of the print will matter as the layers
are weak to shear forces and will tend to separate if
force is applied in the plane of the layers. This is
also why FDM printed parts should not typically be used
in safety critical situations, like for use in custom
chuck jaws, without proper evaluation of the forces
involved.
Centering jigs for mounting stock, diameter gauges for
consistent sizing, sanding guides for uniform finishes,
and custom chuck accessories. These printed tools provide
precision that would otherwise require expensive
commercial solutions.
PLA works well for low-stress jigs and measuring tools. PETG offers better durability for frequently handled items. For parts that need to withstand heat or pressure, consider ABS or nylon. Always test your prints before relying on them in critical applications.
A journey through the process
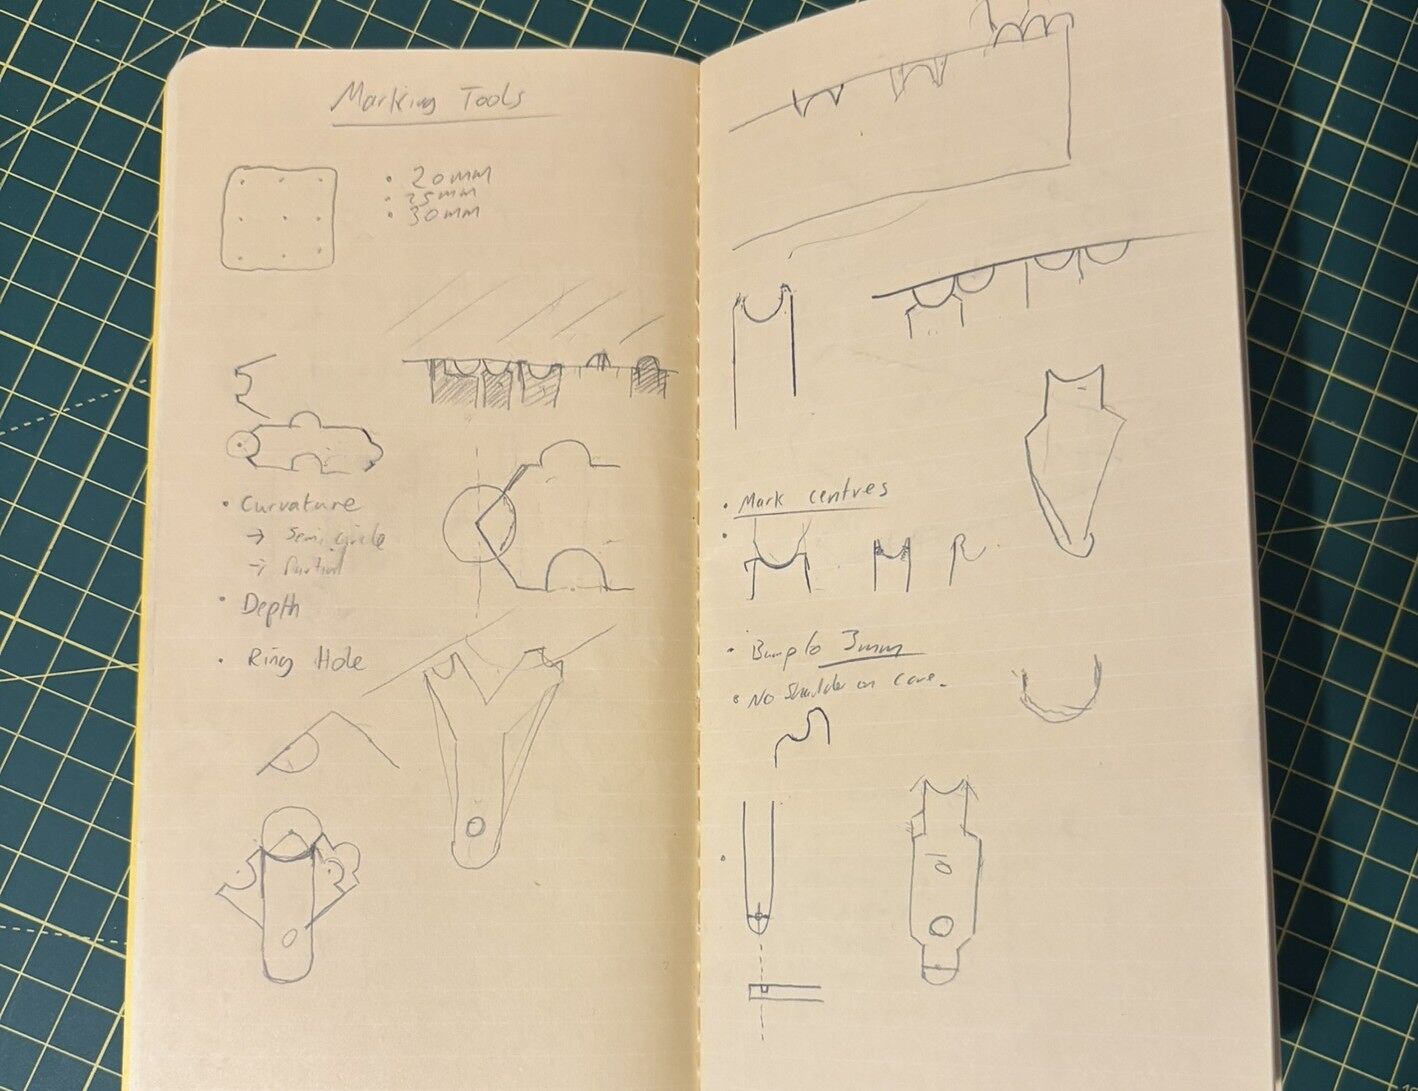
Before I touch any software, I start with paper.
Sketching lets me quickly explore proportions and how
the gauge will interact with beads and coves. I mark out
my ideas for the key features including the ends for
bead and cove fitting, plus the ruler notches for
layout. My initial thoughts for its shape and change as
I iterate through trying to fit all the features into
one compact design.
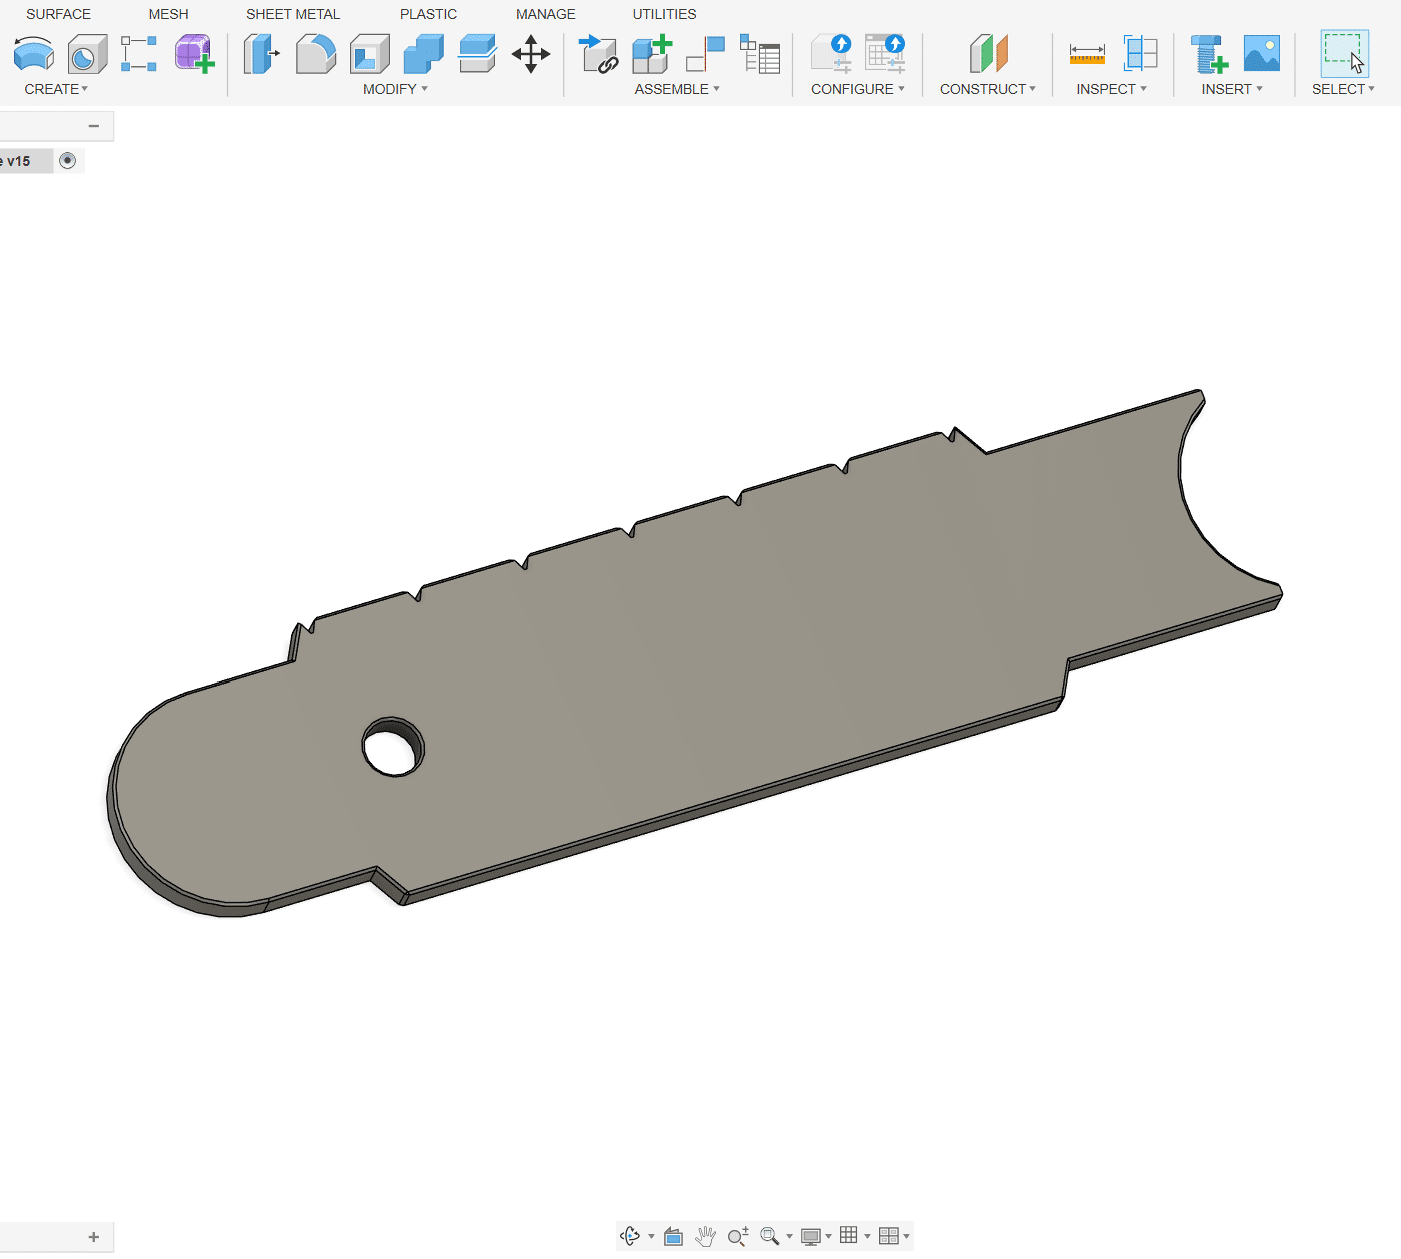
Once the concept feels solid, I move into a piece of 3D
modelling software, such as Fusion 360. This
gives me the flexibility to iterate quickly and
visualize the tool in 3D before printing.
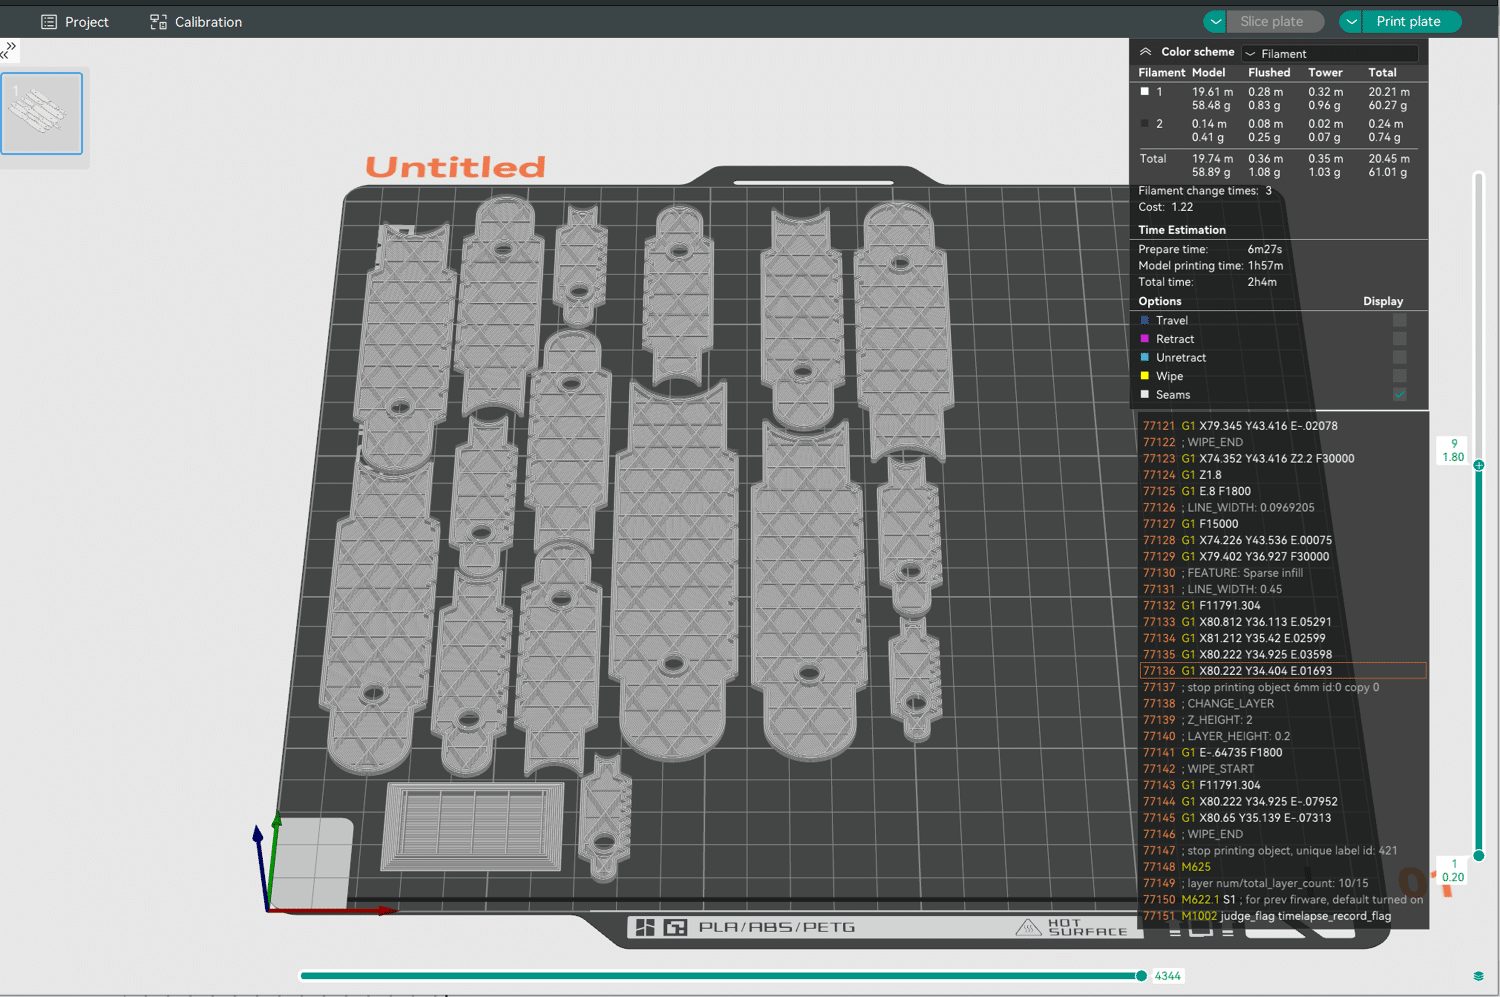
With the model complete, I export it to a slicer, such as Bambu Studio. The slicer software takes all the geometry from the 3D model and converts it into a series of line paths that the nozzle of a 3D printer can follow, effectively creating the set of instructions for the 3D printer for it to make the object. As part of this, the layer height can be adjusted for strength and finish, the model can be split to allow for multi-colour printing, and the density of the finished object can be changed.
Finally, the file is sent to my Bambu Lab P1S. Watching
the design come to life layer by layer is always
satisfying. PLA gives a lightweight but rigid finish,
perfect for repeated use at the lathe.
Through testing the gauges, I can quickly iterate
through several tweaks to make them easy to use
and as feature packed as possible. I rinse and repeat
this process until, along with the help of some testers,
that I am satisfied with the finished product.